How to Customise Your Chatway Widget
Open your Chatway dashboard and click on the settings icon located at the top of your Chatway profile picture in the bottom left corner.

Header:
Within the Widget Settings, you’ll find the option to edit the Header text.

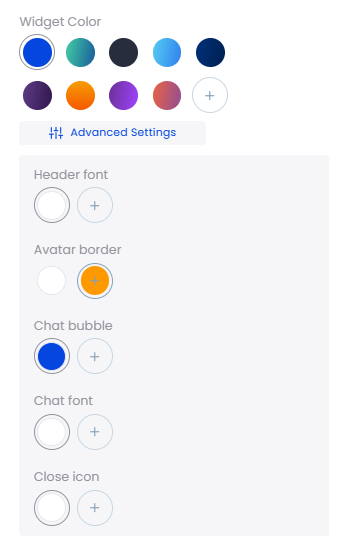
Widget Colour:
Next, you can adjust the Widget Colour. Simply click on Advanced Settings to modify the colour for Header font, Avatar border, Chat bubble, Chat font, and Close icon.
Position:
You also have the flexibility to change the widget position. Choose between Left or Right placement on the website, or set a custom position by adjusting Bottom and Side spacing.

Collect Contact Info:
Select which visitors’ contact info you wish to gather by referring to our separate guide: How to collect name, email, and phone in Chatway.

Preview Text Bubble:
The Preview Text Bubble is enabled by default. It serves as a call-to-action button displayed when the live chat pop-up is closed. You can disable it or modify the text. A live preview on the right allows you to see how it appears.

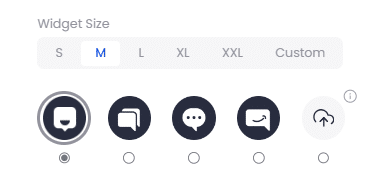
Widget Size:
Adjust the widget size from Small to XXL or set a custom size. Below the Widget Size title, you’ll find the option to change the widget icon. Choose from the 4 pre-built icons or upload your own.
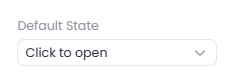
Default State:
Under Default State, choose between Click to open, where visitors need to click the widget to view the live chat popup, or Opened by default, where the live chat popup opens automatically on page load.
Edit & Translate Widget Text:
Lastly, you can edit and translate your Chatway widget texts. Refer to our separate guide: How to edit and translate Chatway widget texts to other languages.
Note:
Remember to click the “Publish” button to save the changes once everything is set.

Below is a preview of how your settings will appear after publishing, depending on your customisations.


